Saturday, April 27, 2013

Working with Toddlers

The most hardest portraits to accomplish... the ones of a tempered toddler. For the longest time I refused to take photographs of little kids, they continuously frustrated me. They get bored easily, and a bored subject makes for a boring photograph. The biggest idea is to work with them, don't push them. I can't tell you how often I've gotten into fights with my baby sister and it just ended up ruining the entire photoshoot. You have to work with them.
If its nice outside, then you have the greatest advantage on your side. I don't think I've ever seen a kid who doesn't just love to go outside. So take them outside and play games with them. I always play the "I'm gonna get you!" game to make them want to run and laugh. Let them have full rein of the world around them, and just simply photograph them in their element. You can also coax them into playing in spots or on things that you want to use in your photograph. In the photo below I got Ella and Alena to play on an old pick up truck. It made a cute best friend photo.
Another great thing that keeps kids occupied are props. Like in the photo above, Alena loved playing with the baloon, which are always an awesome prop. Don't forget to let them dress up, little girls just love to dress up and play pretend.

Sunday, April 21, 2013

Using Lenses

The other day some stranger noticed my camera, (I had my 200 mm with a F/ 2.8 so of course my camera was hard to miss) and as we were chatting about it, i started telling him about my lens. He said "Can take photos really far away?" and I said "Well no I have smaller lenses than this that have more zoom." The man was completely confused. Sometimes, amertures have trouble figuring out the use of different lenses, when really it's very simple.
When you look at a lens, you'll notice a bunch of confusing numbers on it. Believe it or not, but these numbers really mean something! If you look at the end of your lens closest to your camera, you'll see some strange numbers, normally followed with millimeters. That is your focal length, a lot of people refer to that as the zoom. This one happens to be 18-135mm. That means, that as you move the ring closest to it, your camera can zoom anywhere from the smallest number to the largest. Those numbers above it, the ones on the line? That is the number you are using. In the picture below, it is set on 18mm (indicated by the little white line). The larger the number is, the farther you can zoom.

 So automatically you think that a lens that is 75-300mm is going to be bigger than a 70-200mm lens right? Well that isn't always a case. Remember when we talked about aperture? That is the ring that allows so much light into your camera.
Well that ring is located inside your lens (as shown to the left), and the larger your aperture is, the larger your lens is. Most lenses nowadays have a changing aperture, which means you can change it from F/30 to an F/5.6 (remember: the smaller the aperture value, the bigger the aperture hole) without changing your lens. Most cameras have an aperture of F/5.6 and it can get smaller (which means your aperture hole is BIGGER), but sometimes you need even more light than that, so they use a lens with an aperture of F/2.8
This lens is only 200mm... but its got an aperture of F/2.8
 (thats a HUGE aperture!)

And this little guy, is a 300mm lens, though its got a longer zoom, it is really really short and skinny.

Lenses also help control your Depth of Field. If you read my depth of field blog, then you remember there are three things that control your depth... Aperture, distance from subject, and FOCAL LENGTH. Now that you are more aware about what focal length is and how to find it on your lens, you will be able to control your depth of field better. Knowing your lenses apertures and focal length help you decided what type of lenses you want to buy for your favorite type of photography.

Sunday, April 14, 2013

Creative Photographs

A lot of people who take photographs have trouble with creating interesting photographs. I've seen copy after copy after copy of a couple making a heart with their hands or a girl on railroad tracks. More people will be attracted to your photographs if you use your imagination and do fun photographs.
Props are the greatest way to seperate your photos from the others. I can't tell you how many times I've dragged a ragged old chair out into the middle of the boondocks just to take a cool photograph. If I could, I'd use couches and beds, but I don't think I could fit them in my car. The idea is to use props that look natural and beautiful. Seriously, you can use anything.
Old cameras (polaroid)

Another old camera (Holga)

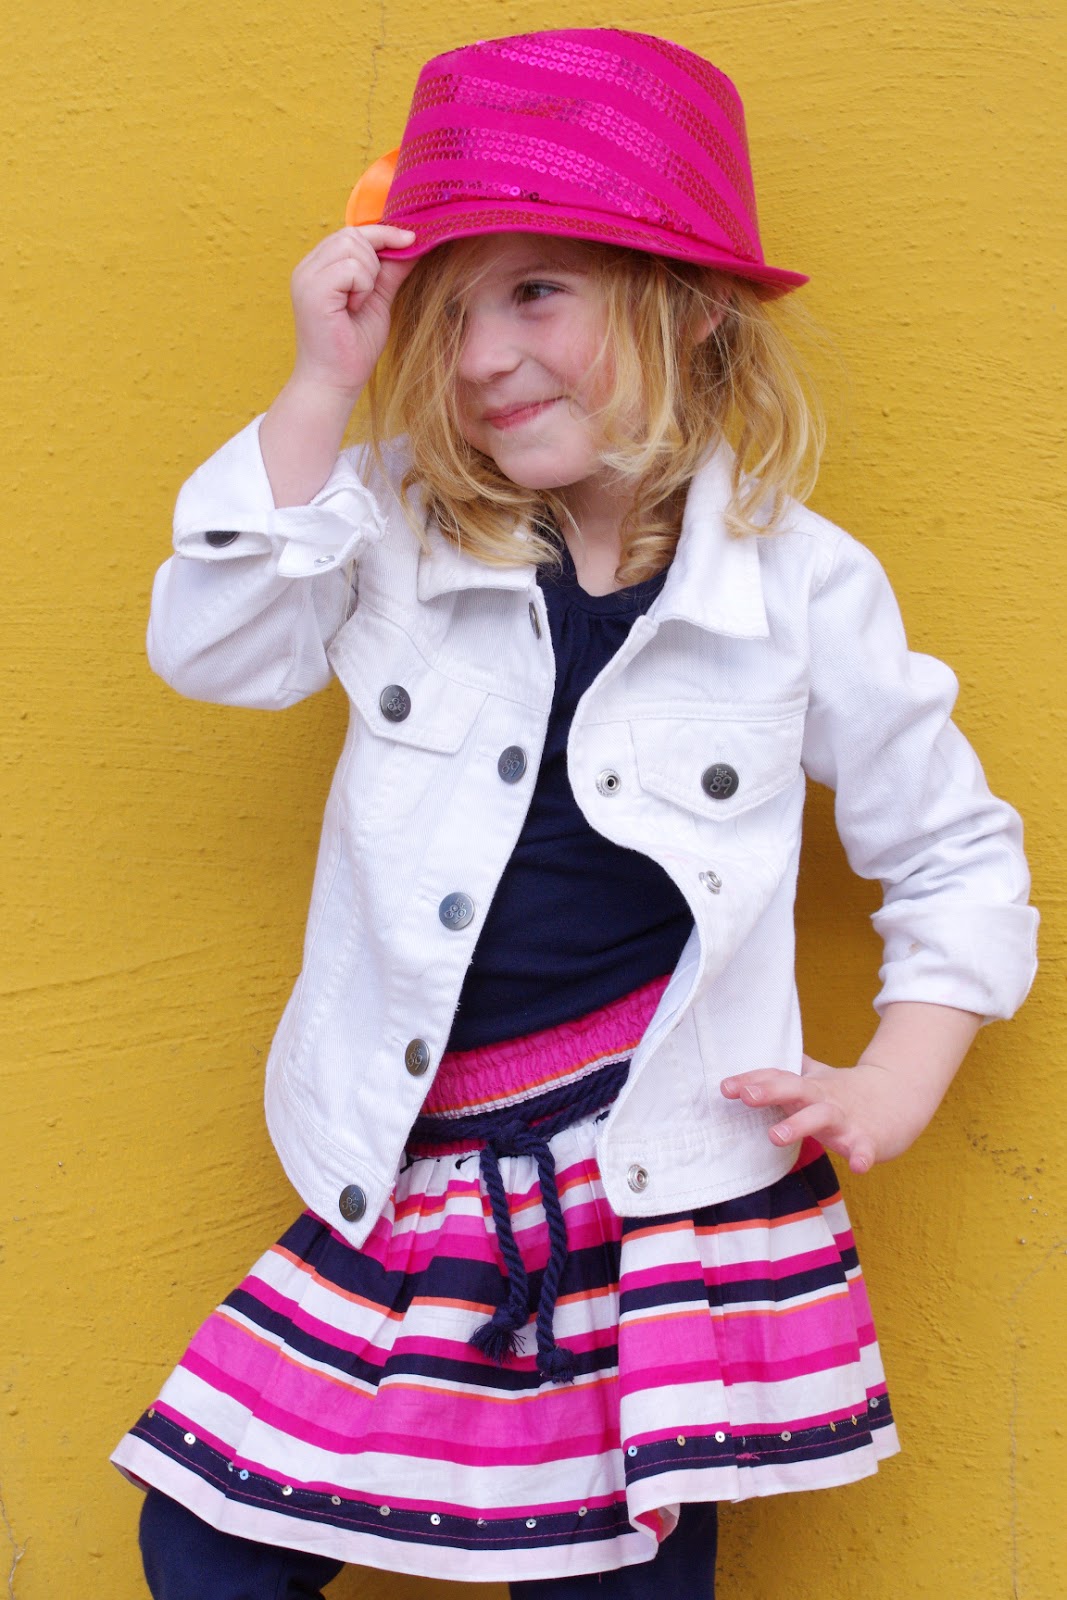
Cute outfits! Feather Boa and Hat

Costumes

Beaches toys

Now theres a lot of "props" in this photograph that add to the mood. The chair, the cigarette, and the junk on the floor. It makes for a real good story inside the photo.

old trunks are the greatest. You can sit, lay, stand, basically do anything on them and theres like a million different places to use them.

Use things that go along with the season. The winter coats, the fur hood, and the gloves make the mood. Obviously it makes you think its winter.


Another great idea that A lot of people don't think of are live props. Pets are the perfect props. Dogs, rabbits, and especially horses. They are great to use to make little kids smile. When you take pictures of people, invite them to bring along their pets, they'll go crazy over the photos.
Using horses are always fun and cute

Don't forget the bloppers! I always save the mess ups, the strange, and the not-so- pretty photographs, they could possible make fun photographs and turn out to be pretty good ideas.

Me and my cousin were joking around about how strange it looks when people take photographs with trees, and then while she was making fun of it I snapped a photograph and instead of laughing at it later... we actually liked it.

This was another blopper I didn't think would come out looking good, but it turned out pretty cute. Reminds me of a miny Michael Jackson.

This girl has an obsession with mustaches, and I took some super funny photographs of her playing with her fake mustache... and I actually liked them!


Saturday, April 6, 2013

Simple outdoor lighting

Sometimes it doesn't matter how good your camera is, if you don't know how to use it and your environment correctly then you won't be able to achieve good photographs. The biggest different between most regular photographs and the photographs taken by professionals is the way the lighting is handled. Just like a regular person, a lot of photographers use natural lighting, but there are tricks to how and when to use it.
The biggest problem that people have with using the sun as lighting is they don't understand that the sun causes shadows. These shadows look bad and they will single handedly ruin your photograph. When you photograph in direct light,  you often get harsh shadows and black marks under your subject's eyes (racoon eyes). To eliminate these shadows, simply photograph in a shadowy area. alleys and large walls allow a lot of shadow to cover your subject. All you have to do is stand your subject under the shade of a wall and... instant perfect lighting!
Direct sunlight.
Note the harsh shadows across her face

Under a shadowy wall.
Note no shadows on her face.

Another very important thing you need to consider when photographing outside is the position of the sun. If the sun is way over head like during noon, then you have really dark racoon eyes and all types of harsh shadows. Its also very hard for your subject to open their eyes during this time. Though you can take photographs at this time, its much more easier to wait until the "Golden Hour". This the time, two hours before sunset or sunrise, where the sun is directly behind you and your subject, and is lighting up their faces and its warm, yellow, bright, and it just looks beautiful.

A more advanced approach is to use fill lights. A fill light is the light that you create to literally fill in the shadows. A lot of times you can use reflectors to bounce the light from the sun onto a persons face, but there are also more natural things you can use. Some people set white sheets on the ground out of the camera's view so that it bounces light onto their subject, well the snow can also do the same thing. Its a very simple and natural fill light that just automatically bounces bright light onto your subject's face. There are other things you can use, such as light colored concrete floors and walls or water sources. Anything bright that can reflect light onto your subjects face is considered a fill light, rather its a technical piece of equipment or simply the light off a snow. Knowing little things like what type of things bounce light and what time to take photographs can make a huge difference in your photos. Little tips like these can take any regular photograph and change it into a professional photograph just like that.


Using Snow as a fill light

Oh! I almost forgot the most important tip of all. Overcast is a photographers best friend, because without the sun that means no shadows... at all! On overcasted days you can photograph anywhere without having to worry about racoon eyes. I take 99.99% of my photographs on overcast days because I myself am still having trouble manipulating direct light. So don't forget, overcast is the best lighting that the world has to offer you, so use it as much as humanly possible.