
 One of the biggest problems that beginner photographers have when taking photographs of people is positioning. When your trying to position your subject you should always try for something that looks natural, not forced. As you see in the photographs to the right, the most natural pose is always the best. The top photograph was a pose that my subject sugested we try. The bottom one was a photo of her while she was caught off guard. The bottom one appears more natural and effortless while the top looks forced and uncomfortable. Using props always seems like a fun idea, but if that prop doesn't look like it belongs there (like the truck mirror for instance) than it can ruin the entire photograph. My advice is to go as simple as possible when you start out. Try doing photographs of only the subject and do as many simple poses as possible.

When working with people you have to worry about their comfort levels. When your subject isn't comfortable with their pose, then you will see that in the photograph. As you can see, the girl on the right in the red pants looks very unconfortable as opposed to the girl on the left. Paige (the girl in the red) looks uncomfortable because, like a lot of people that beginners work with, she has had no experiance with being a photo subject and is nervous. As the photographer it is your job to make the subject feel comfortable with their poses or to change the pose if they simply can't do it. There is more than one reason that she looks more uncomfortable though. Not only was Paige not liking that pose, but the pose also looks more uncomfortable because she was closer to the camera. In Kendra's photograph shes very far away and being shot from above, while Paige is being shot from a straight on view which is really never a flattering view. Which brings us to our next position, which is close ups. The first rule of a close up, is to always keep the subject's chin down. As you can see in the center photograph, Paige's chin is pointed slightly upward (and she refuses to smile) which doesn't flatter the shape of her face. But, in the photograph on the left Addy Kaye's face looks dainty and pretty. Remember tilting the head slightly always looks good, but as Addy Kaye demonstrates in the photograph on the right, theres a limit to how far you should tilt.


Small things to remember:
-Don't chop off limbs when photographing and cropping
-Don't have your subject stare off dramatically into the corner of their eyes
-Don't add blur in photoshop
-Don't over saturate
-Don't let them slouch
-Make your subject smile naturally
-Don't stop taking photos until you've reached 200
-Try using cross processing
-Have fun & be creative
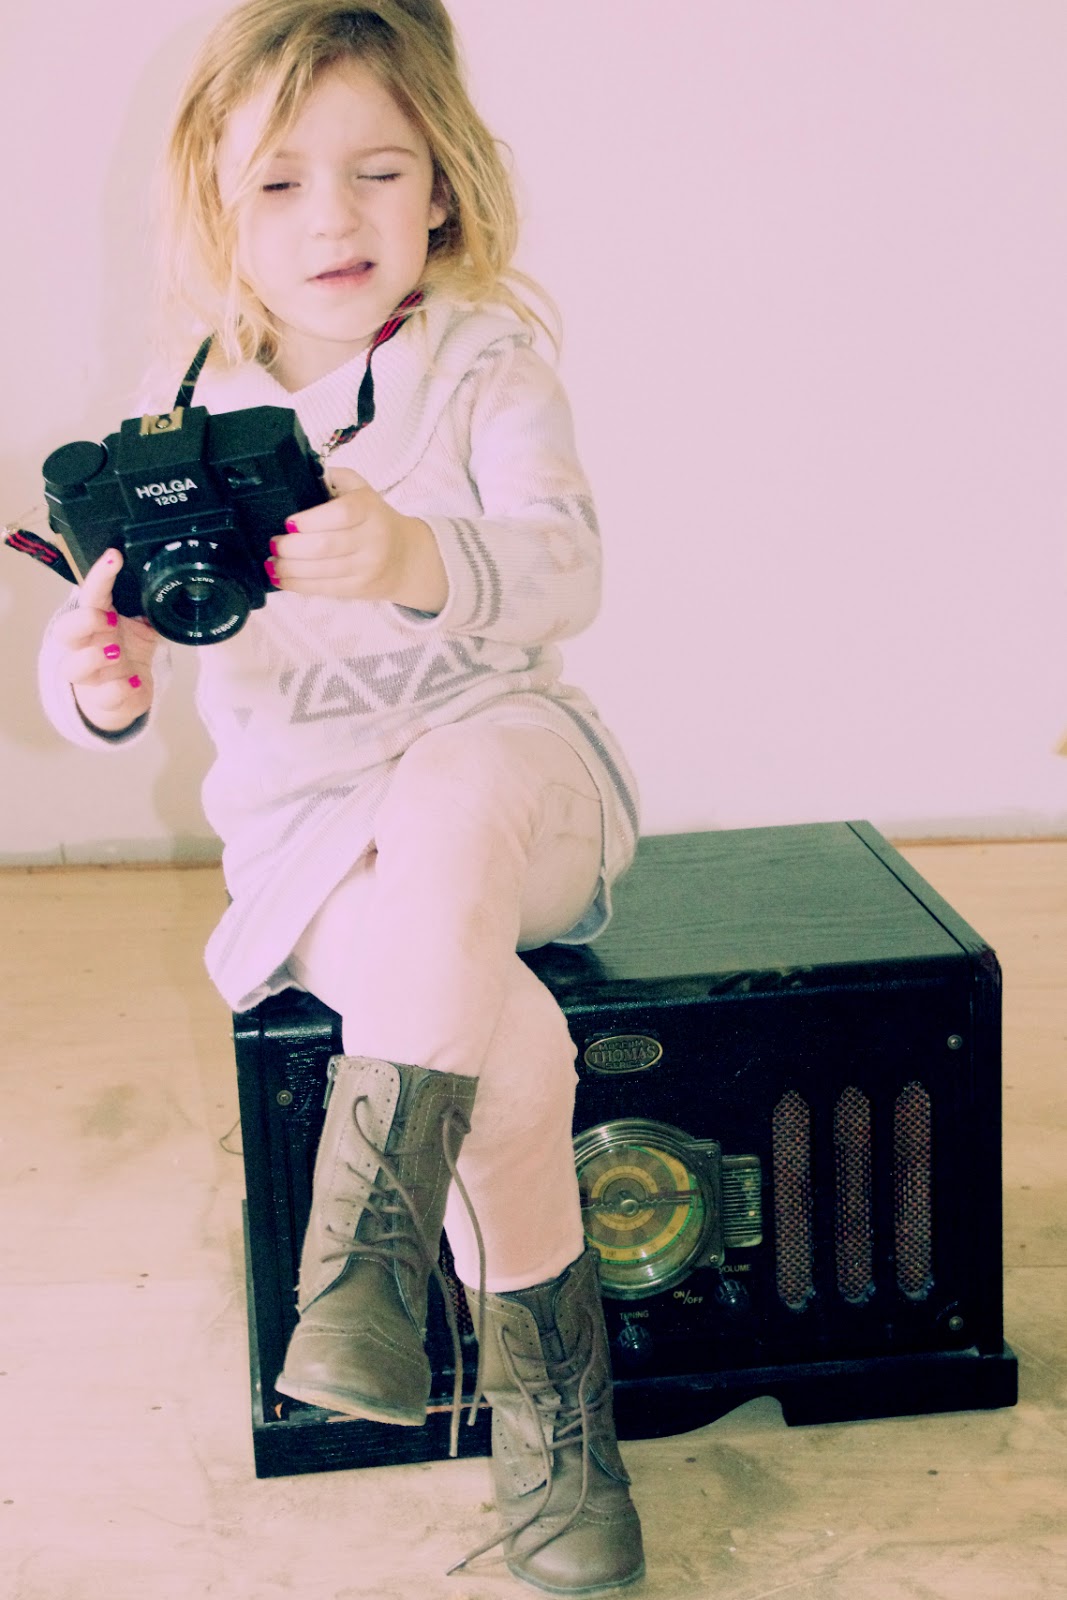
more good examples (or in my opinion good)


Note: These last photographs were taken with cross processing. I would do a blog on it, but its simply a setting that only selected cameras have. You can create cross processing on photoshop by using color balance.


